

[ad_1]
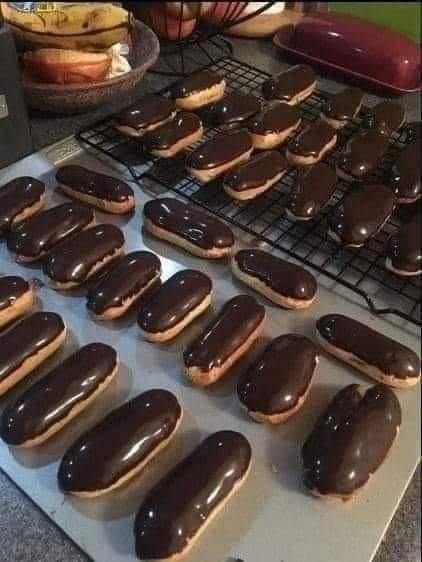
Perfect Classic Chocolate Eclairs
Here’s all you need to know about making Perfect Classic Chocolate Eclairs! This foolproof tutorial will guide you through the recipe step by step, and also discuss eclairs troubleshooting tips for common recipe pitfalls.
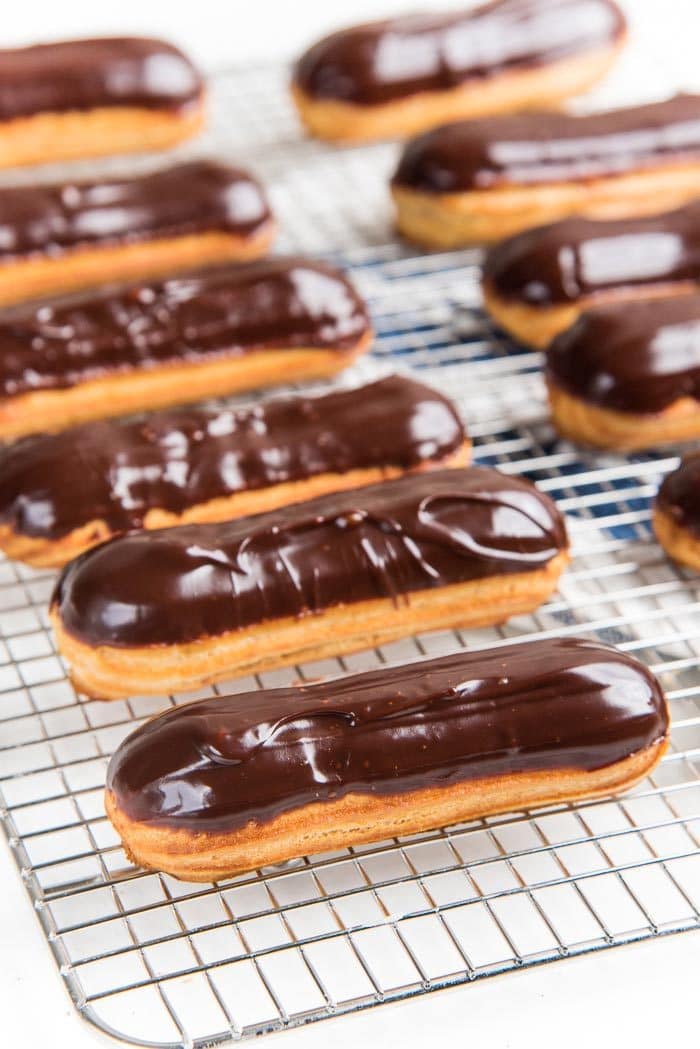
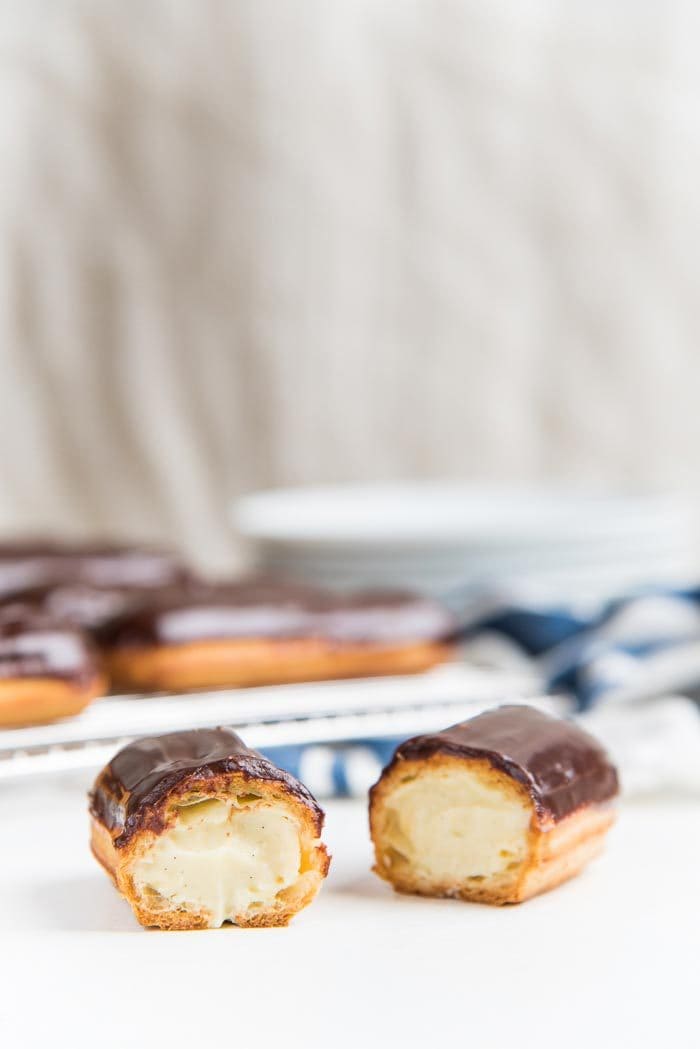
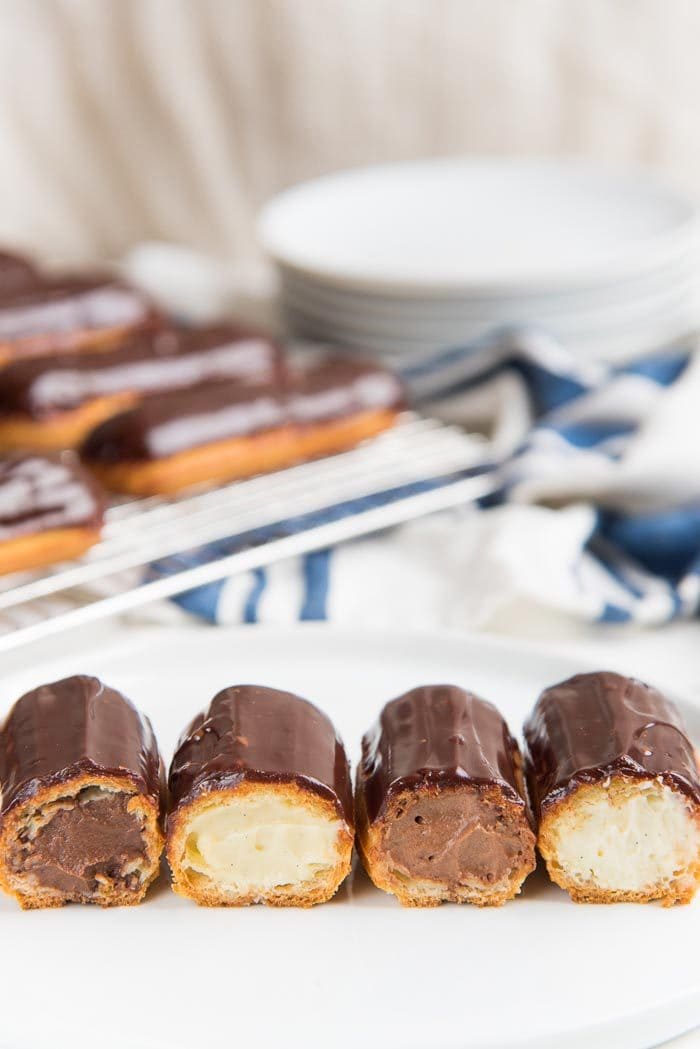
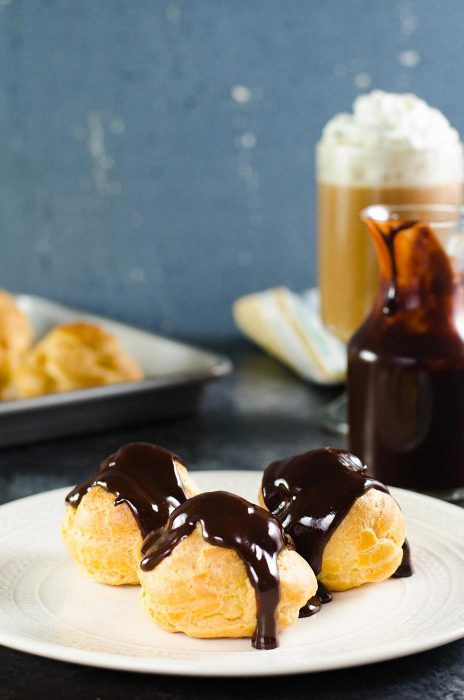
Deliciously crisp, puffy and perfect chocolate eclairs filled with chocolate or vanilla pastry cream.
Have you been left wondering why your eclairs always came out flat or soggy? Or why they have a concave-shaped bottom, or a huge crack right down the middle on the bottom?
You’ve probably tried all the recipes that claim to make perfect eclairs, and still ended up with flat, depressing eclairs instead? Well, then you’ve come to the right place! 
Today, I’m going to show you guys how to make Foolproof, Perfect Classic Eclairs!
My classic choux pastry troubleshooting post is one of the most popular posts on my blog, and I’ve had many readers ask me for a follow up post dedicated to classic eclairs. It’s been a long time coming, but here it is! However, I do encourage you to read my choux pastry troubleshooting recipe post first for a detailed and comprehensive guide on how to make perfect choux pastry and how to fix any shortcomings with the dough. It’ll help you troubleshoot common issues that you may encounter when making eclairs or any choux pastry dessert.
Here’s a quick summary.
The consistency of your choux pastry dough is key! Always WEIGH your ingredients, rather than relying on cup/volume measurements for guaranteed, consistent results. If you do use cups however, pay extra attention to the consistency of the dough at each step to make sure you’re on the right track.
There are key signs to look for at each step of making choux pastry, before you proceed to the next step. The more you make choux pastry, the more you will be able to “read” your dough and follow these signs intuitively.
If you’re new to making choux pastry, then how about starting with profiteroles first? Profiteroles are easier and more forgiving than classic eclairs, and I’ve got an excellent recipe for making profiteroles.
Having said that, I’m going to share with you here all my tips on making PERFECT eclairs that are nice and puffy, with a beautiful shell and with no cracks. This will help you make foolproof classic eclairs that look like they came from a high-end pastry shop! So let’s get to it.
Classic Chocolate Eclairs
Classic Chocolate Eclairs – A foolproof recipe for making perfect eclairs that are crisp and puffy and filled with chocolate or vanilla pastry cream.
Intermediate – This recipe is for regular bakers, who have tried basic choux pastry (and profiteroles). There are multiple techniques involved in this recipe (choux pastry + piping technique for eclairs + pastry cream + glaze). Read the post and recipe before proceeding.
What You Need:
- ▢See the post for a list of recommended tools & equipment
Ingredients:
Choux Pastry for the Eclairs
- ▢8 fl oz water
- ▢4 oz unsalted butter
- ▢½ tsp kosher salt use less, if you’re using fine salt or table salt
- ▢1 tbsp granulated white sugar
- ▢5 oz bread flour sifted (or AP flour, I prefer bread flour for eclairs)
- ▢1 tsp vanilla extract optional
- ▢8 oz eggs about 4 large eggs
Filling for the Eclairs
- ▢1 ½ batches of Vanilla Pastry Cream
- ▢OR
- ▢1 ½ batches of Chocolate Pastry Cream
Chocolate Glaze
- ▢12 oz semisweet chocolate
- ▢6 fl oz whipping cream ¾ cup
- ▢A generous pinch of kosher salt
- ▢2 tbsp unsalted butter
- ▢2 tbsp corn syrup optional
Instructions:
Choux Pastry
- Preheat oven to 375°F.
- Place the water, butter, salt and sugar in a medium-sized saucepan and heat over medium heat while stirring occasionally. (Make sure the salt and sugar dissolve completely in the warm water, and the butter melts BEFORE the water comes to a boil).
- As soon as the water comes to a boil (with a few bubbles breaking through the surface), move the pot away from the stove and add all of the sifted flour into the boiling liquid. Using a wooden spoon or a heat-proof silicone spatula, stir the mixture vigorously to allow the flour to absorb all the water and form a ball of dough, and remove any flour clumps in the dough.
- After about 45 – 60 seconds of mixing, return the saucepan to the stove (with medium heat), and let the dough cook for a further 2 – 3 minutes while stirring and mixing. Do this until you see a film of dough forming on the bottom of your saucepan (please note that this only occurs with stainless steel saucepans, not in non-stick saucepans).
- Remove the saucepan from the heat and transfer the dough into a large mixing bowl. Mix the dough gently, for about 2 – 3 minutes, to release the steam and to let it cool down (lower than 160°F). Alternatively, you can flatten the dough along the wall of the mixing bowl and let it cool down for a few minutes.
- Crack all the eggs into a jug and whisk well to combine.
- When the dough has cooled down, mix in the vanilla (I don’t use vanilla, but you can if you like). Next add the eggs in 5 – 6 additions, mixing each addition well into the dough before adding more. You can use a stand mixer or a spatula to mix in the eggs. Stop adding eggs when the dough starts to get a sheen, and looks glossy. Please read the post for more details. Then check for the right dough consistency with the choux pastry test (detailed in the post).
- Place the dough in a 16 inch pastry bag and secure the bag opening, and set it aside until you get the baking trays ready. Line a baking tray with a silpat mat. Also have a bowl of water and a bowl of confectioner’s sugar with a small mesh strainer ready as well.
- Fit a different pastry bag with a ½ inch French star tip. Then snip the end off of the choux pastry bag from the previous step, and place that in the bag with the French star tip.
- Hold the pastry bag at a 45° angle, with the French star tip touching the silpat. Pipe 8 – 10 eclairs (4 – 5 inches in length) on the silpat lined baking tray. When piping, make sure the ends are a little larger than the middle portion of the eclairs. Twist the piping tip at the end so that you end with a slightly pointed/jagged end.
- Dip your finger in water and pat the ends of the eclairs to flatten the pointed ends. Sift some confectioner’s sugar over the eclairs.
- Place the baking tray in the middle rack of your oven, and set the timer to 25 minutes. After 25 minutes, check if the eclairs have turned golden brown. If they have, then open the oven door and quickly prick each of the eclairs with a sharp toothpick or skewer on one end.
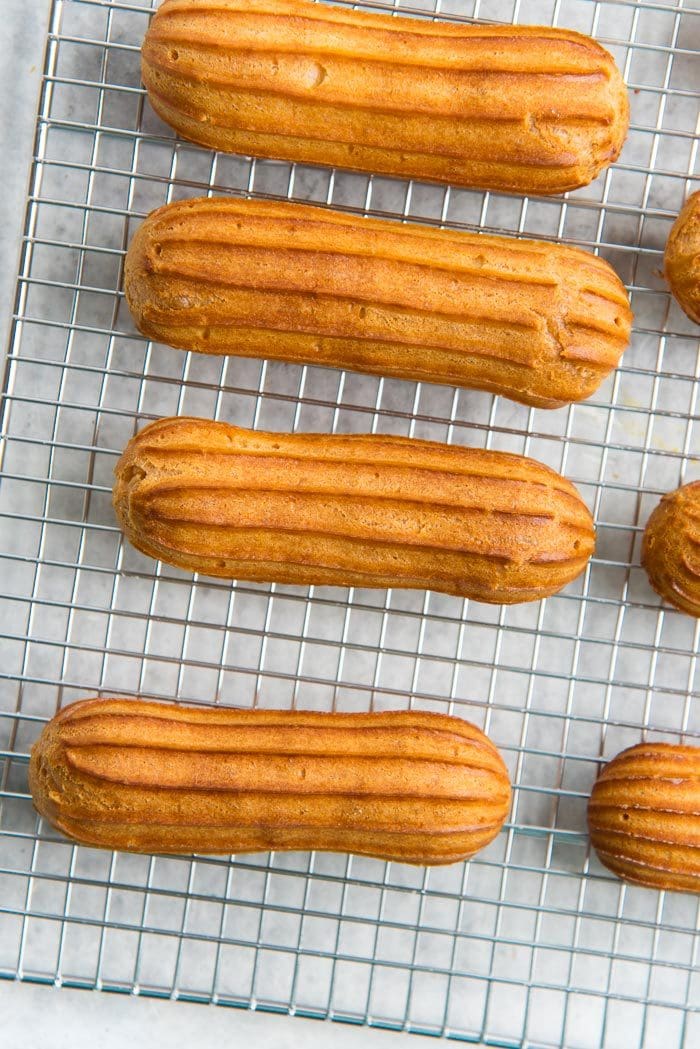
- Close the oven door and let the eclairs bake for a further 5 – 10 minutes until they turn a darker golden color. You want the eclairs to be baked a little longer so that they hold their shape better.
- Remove them from the oven, and immediately prick the eclair cases on the other end. Let them cool down for about 10 minutes on the baking tray and then transfer them onto a wire rack.
- Pipe more eclairs on the second silpat lined baking tray and bake. Repeat until you have used up all of your choux pastry.
- Once the eclairs have cooled down, they are ready to be filled. If you’re filling them later, place the unfilled shells in an air-tight container and freeze for later.
Filling
- Make vanilla pastry cream or chocolate pastry cream according to the linked recipes, the day before, and let it chill in the fridge overnight.
- Place the filling of your choice in a 16 inch pastry bag, with a small round tip (5 – 10mm in diameter).
- Use a French star tip or the round tip to carefully make 3 holes on the bottom of your eclair shells. Fill the eclair shells with with pastry cream through these holes.
- Wipe off any excess pastry cream. Repeat with all the eclair shells.
Chocolate Glaze
- Place the chocolate chips in a large, microwave-safe bowl.
- Heat the cream and salt in a separate bowl in the microwave or a saucepan. When the cream starts to simmer, immediately pour it over the chocolate chips. Add the corn syrup and butter. Stir the chocolate chips until they have completely melted and you have a glossy chocolate glaze. If the chocolate isn’t completely melted after stirring, microwave for 10 – 20 second bursts to melt the chocolate completely.
- Dip each filled eclair in the chocolate glaze (read the post for more details on how to cleanly glaze your chocolate eclairs).
- Place the glazed eclairs on a wire rack and allow the chocolate glaze to set.
- Serve at room temperature, or chilled.
Tips & Tricks
How to store leftover eclairs
If you have any leftover filled eclairs, place them on a baking tray in a single layer and freeze. Once frozen, you can keep them in an air-tight container, with parchment paper between each layer. Then return them to the freezer.
Defrost frozen eclairs by keeping them at room temp. for about 1 hour. Please read the post for more details.
How to make and store eclairs ahead of time
I recommend storing unfilled pastry shells in the freezer, to keep them fresh. Then thaw out the frozen shells overnight, and you can warm them in the oven for a few minutes to make them crisp again (optional). Then let them cool down and fill with your desired filling. Make sure to fill thawed shells just before serving.
The post Perfect Classic Chocolate Eclairs appeared first on . written by %%Helleme.com%%