

Capture the zestful spirit of oranges with a homemade jam that radiates the freshness of the fruit without any artificial preservatives. This delightful orange jam recipe, a tradition I cherish and recreate yearly, brings a vibrant touch to breakfast spreads and pastries alike. Let’s dive into the preparation of this citrusy delight.
Homemade Orange Jam
Ingredients:
- 4 large oranges
- 1 lemon
- 2 cups (400g) granulated sugar
- Water
Instructions:
- Prepare the Oranges:
- Wash the oranges and lemon thoroughly under running water to remove any dirt and wax. Dry them with a clean towel.
- Using a sharp knife or vegetable peeler, carefully remove the zest (orange part of the peel) from the oranges and lemon. Try to avoid the white pith beneath the zest, as it can be bitter. Chop the zest into thin strips or finely grate it.
- Juice the Oranges and Lemon:
- Cut the oranges and lemon in half and juice them using a citrus juicer or by hand. Strain the juice through a fine-mesh sieve to remove any seeds and pulp.
- Prepare the Fruit:
- Cut the orange halves into quarters, then slice each quarter thinly. Remove any seeds if necessary.
- Cook the Jam:
- Place the sliced oranges and lemon zest in a large, heavy-bottomed pot or saucepan. Add enough water to cover the fruit (about 1-2 cups).
- Bring the mixture to a boil over medium-high heat, then reduce the heat to low and let it simmer gently for about 30-40 minutes, or until the fruit is soft and translucent.
- Add Sugar:
- Once the fruit is soft, add the granulated sugar to the pot, stirring until it dissolves completely.
- Thicken the Jam:
- Increase the heat to medium-high and bring the mixture to a rapid boil. Stir frequently to prevent sticking and burning.
- Cook the jam for about 15-20 minutes, or until it thickens to your desired consistency. You can test the thickness by placing a small amount of jam on a chilled plate and tilting it. If the jam doesn’t run off the plate, it’s ready.
- Remove from Heat and Cool:
- Once the jam reaches the desired consistency, remove the pot from the heat and let it cool slightly.
- Jar the Jam:
- While the jam is still warm, carefully ladle it into clean, sterilized jars, leaving about 1/4 inch of headspace at the top.
- Seal the jars tightly with lids and let them cool completely at room temperature. As the jam cools, the lids should seal with a “pop” sound.
- Store and Enjoy:
- Once cooled, store the jars of orange jam in the refrigerator. The jam will be kept for several weeks to a few months if properly sealed and refrigerated.
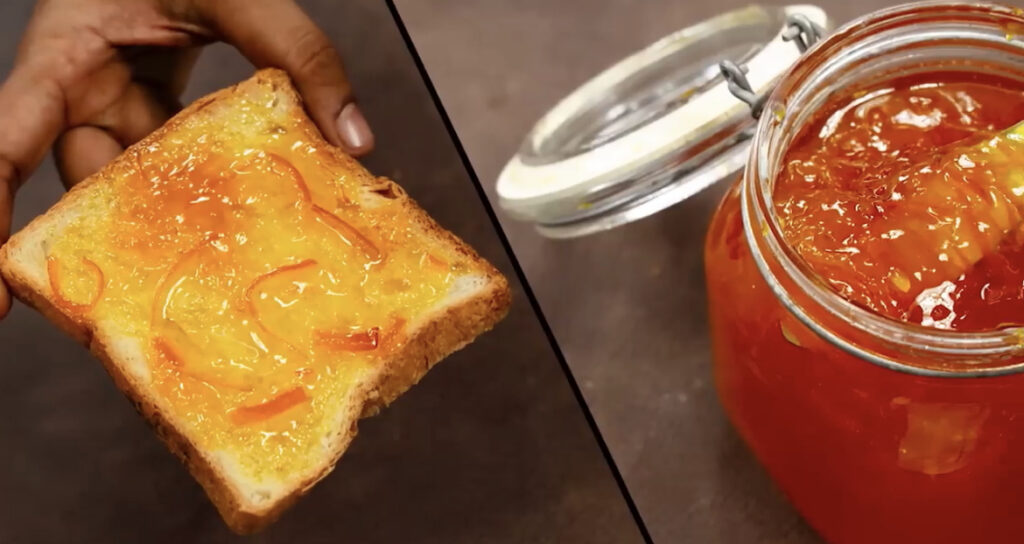
- Enjoy your homemade orange jam on toast, pancakes, scones, or as a topping for yogurt or ice cream!
This homemade orange jam is bursting with citrus flavor and is perfect for spreading on your favorite breakfast treats or enjoying as a sweet snack. Since it’s made without preservatives, be sure to store it in the refrigerator and consume it within a few weeks for the best quality.
____________________________________ For more recipes click here ______________________